British Historical Range
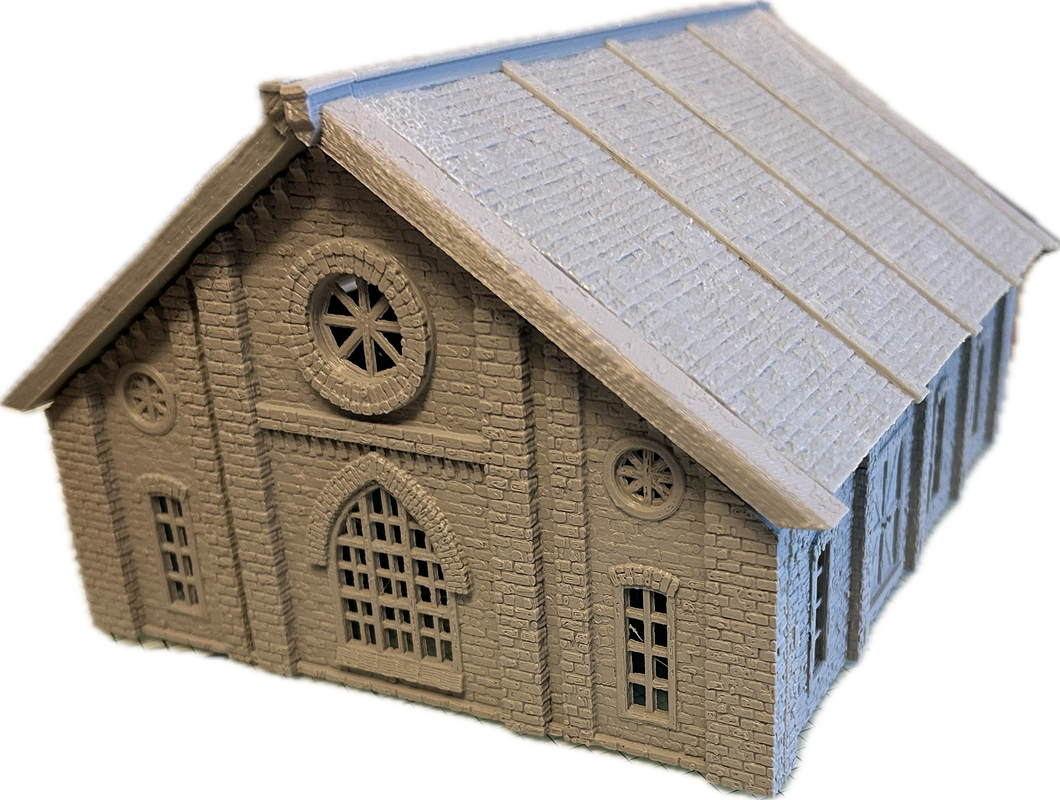
In these pages we will be covering a number of great models that can be built using our range of casting moulds. We know many people like to follow plans and take ideas from actual builds. in 2024 we launched this new range. making it possible for you to take inspiration and build variations of what you may see on these pages.
Many of the moulds and parts can be used together to make so many variations, it would be impossible to show all the possibilities, but we do hope these models will help you with your own designs.
Project 1 - The Warehouse
This project will start with a single floor and we will show you some variations that you can apply to your building
|
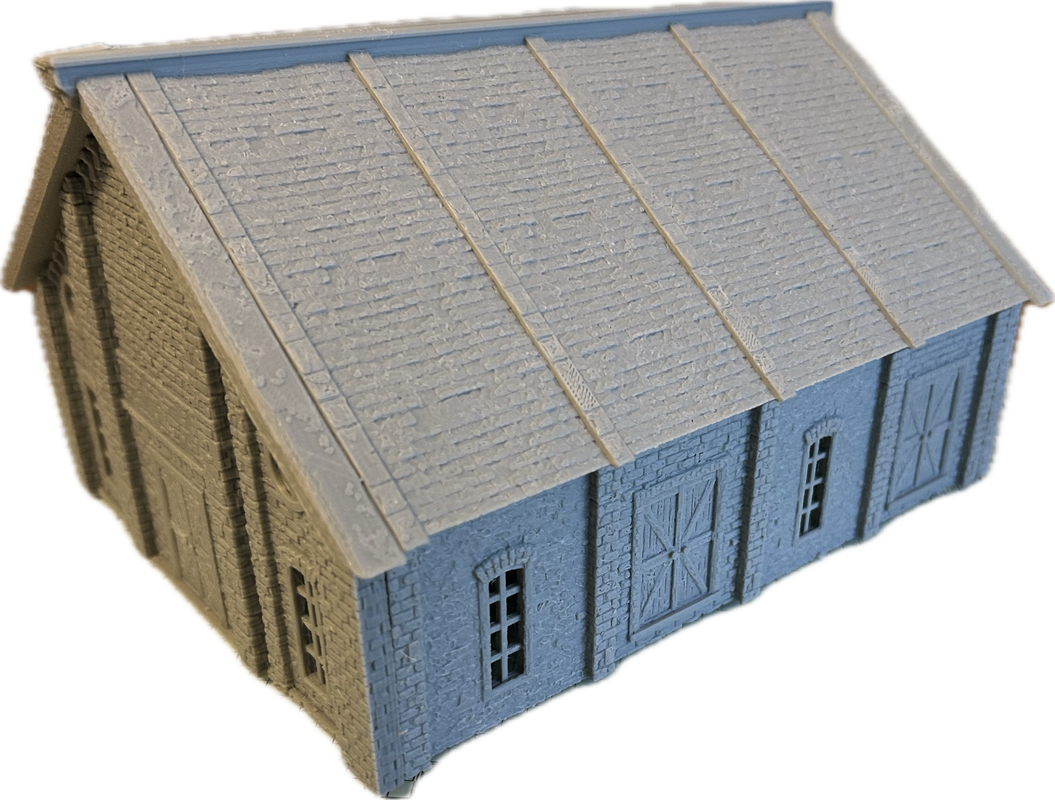
This model is made up from the moulds that are in the BH Range - and in this build we will work through the warehouse by showing the sections that make up the build, list the moulds and parts and then extend the build in further workshops.
You will find that many moulds are repeatedly used and as you progress through the many pages of these projects, it will be evident that we are using the same moulds over and over. showing you the versatility of having a good collection and how it will expand the possibilities. |
|
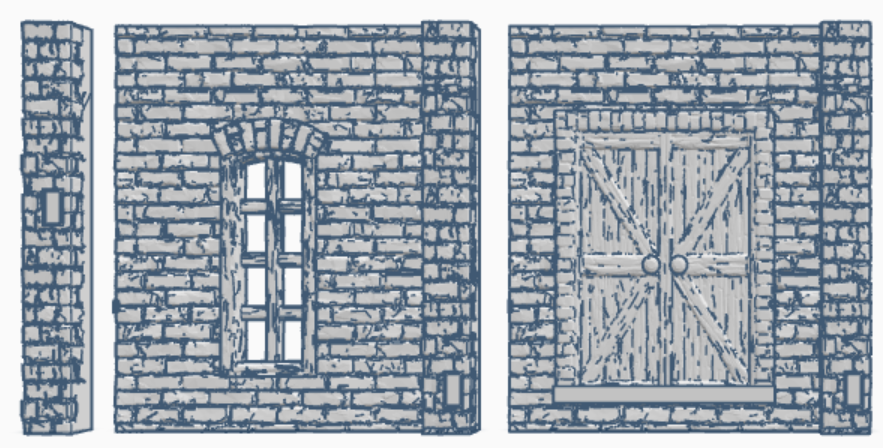
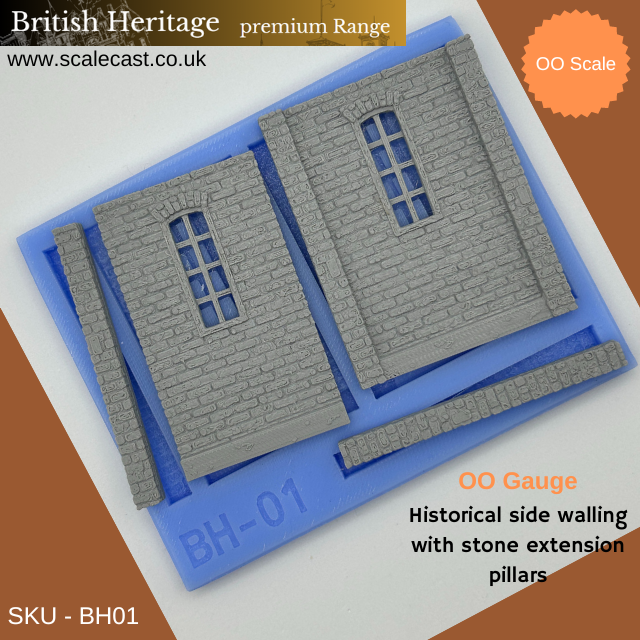
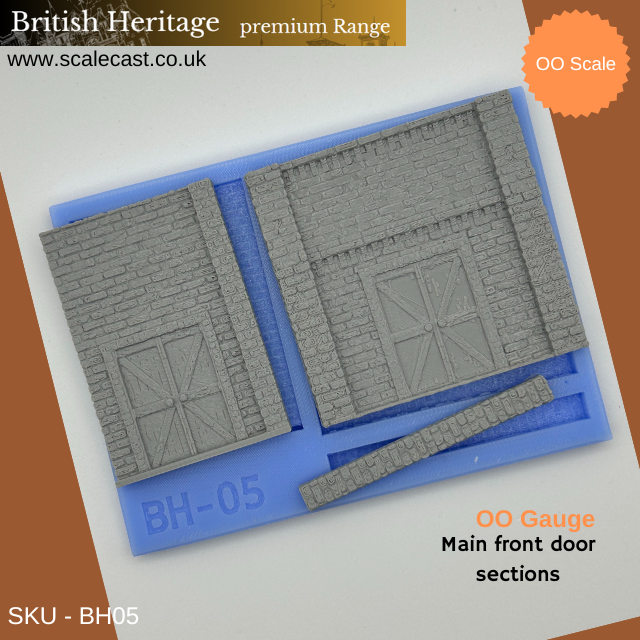
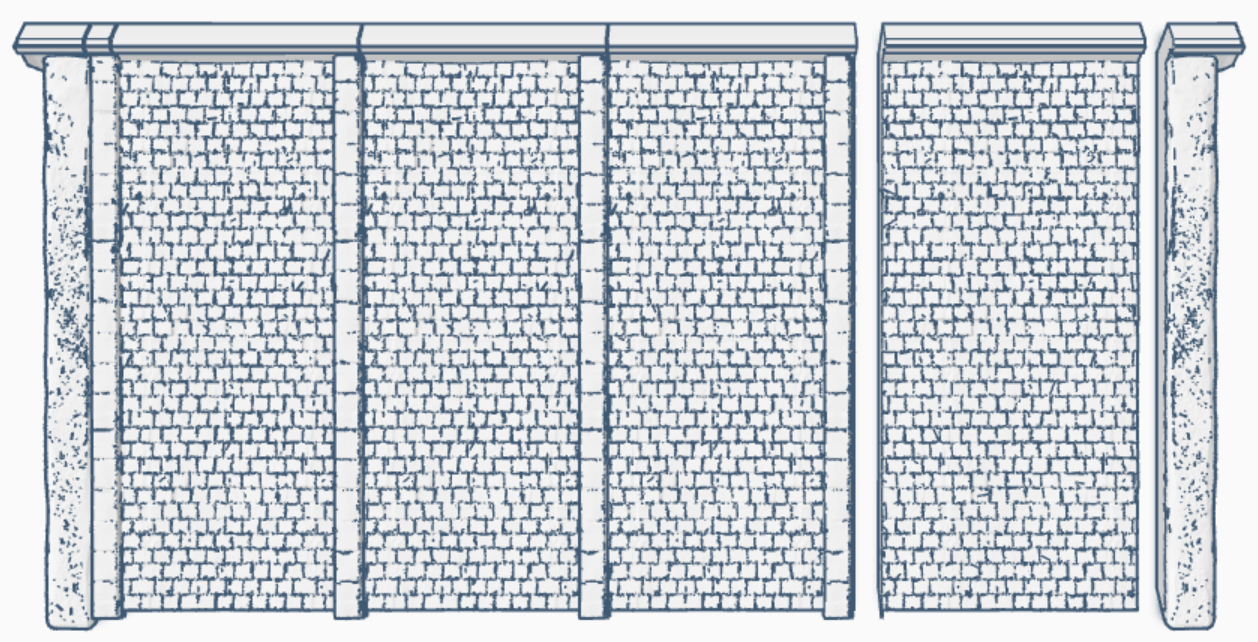
We will start this project by building the side sections of the building using BH01 and BH05 moulds. you will need to cast the moulds several time so that you can layout the parts to whatever configuration you want.
So in this configuration we have made up 2 full sides, but you can mix the windows and door however you like and you can make as many sections wide you like. in this build we have made it 4 panels wide |
|
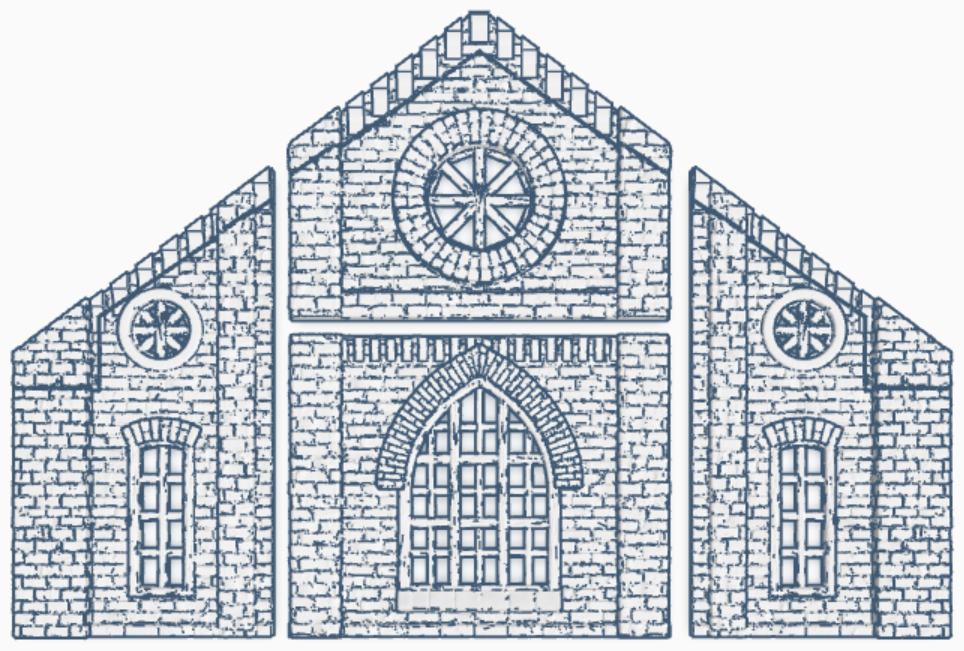
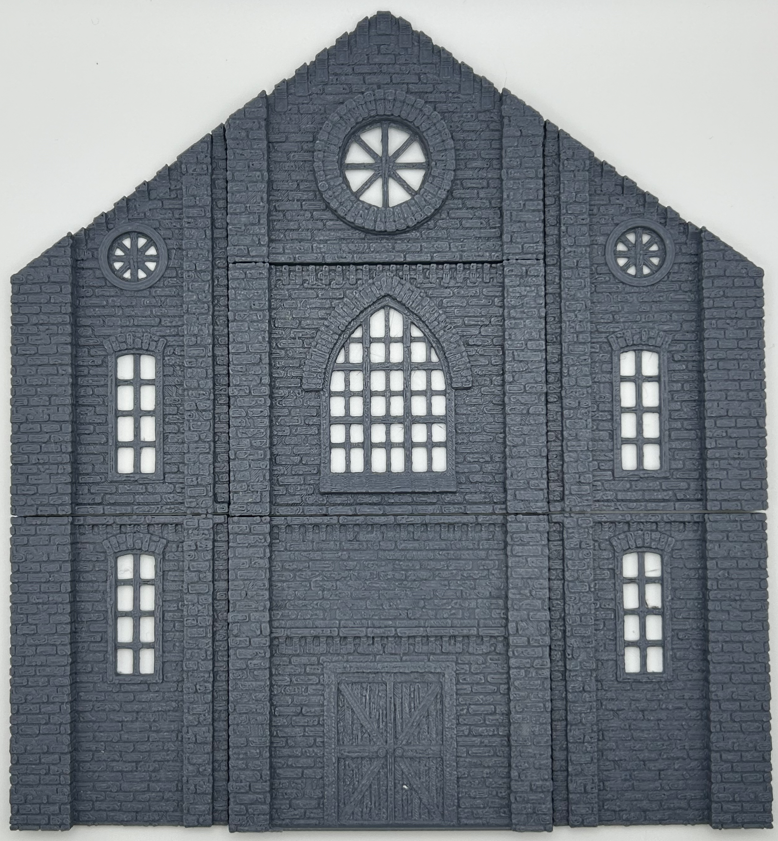
Next we will build the front and back of the warehouse. again for simplicity we will make them both the same. So, again just make up 2 x the following layout.
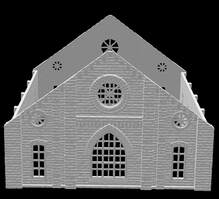
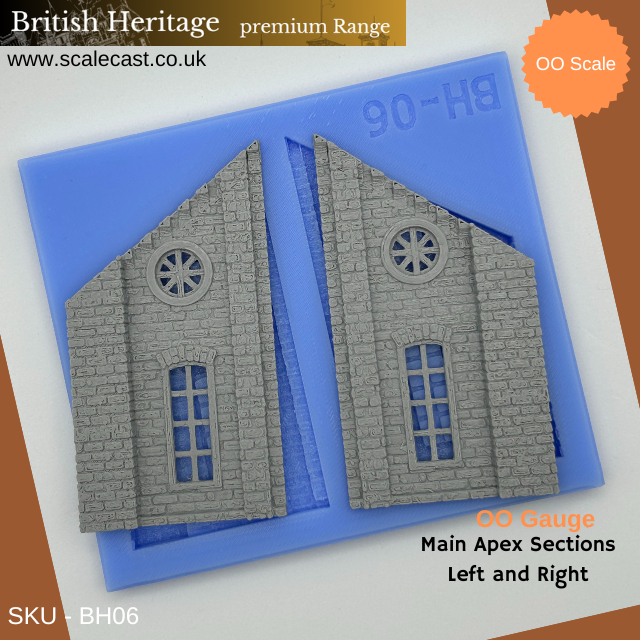
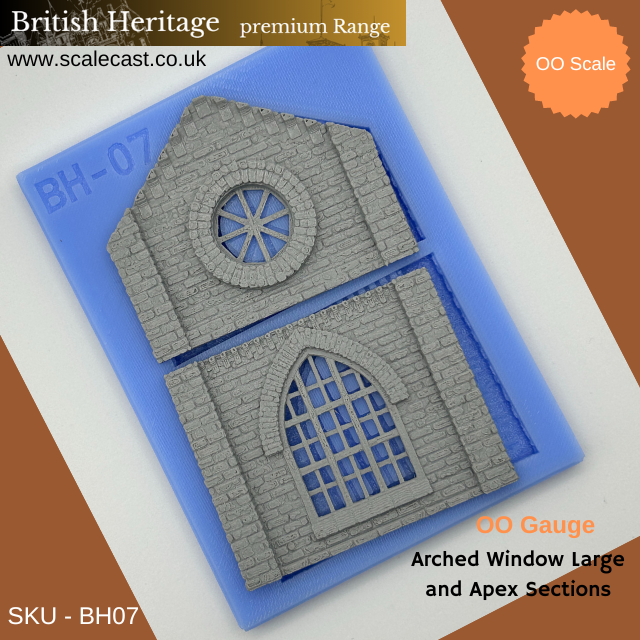
The moulds used to cast these sections are BH06 and BH07. for this layout you would cast each of the moulds twice, to make up 2 x these sections. You can now see in the right hand image that you have all 4 sections that you can now bond together to make up the main building. |
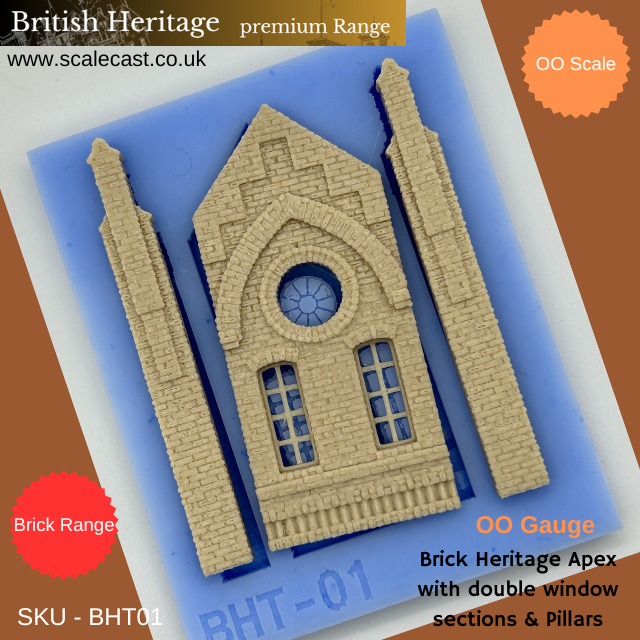
Here are the Moulds used in the build at this stage.
All that remains now is to add a roof. We have several roof in our range, So again, you can either use the ones we designed for this build (BHR) range or any of our other roof sheets we have in the shop.
|
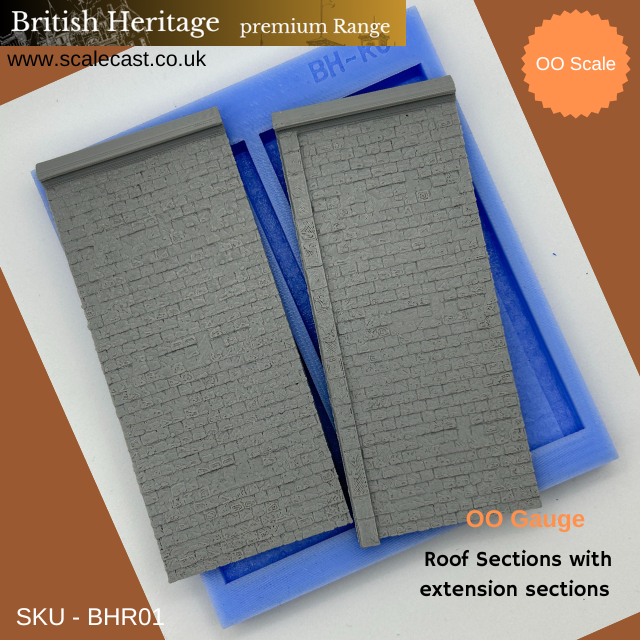
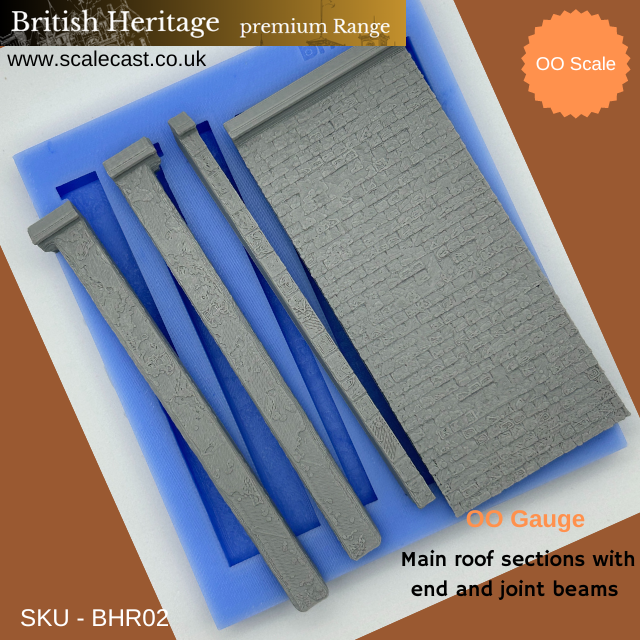
As we can see we just cast the roof sections several times and make up the width of the roof, by adding sections. Starting with an end beam, then a section, a smaller joint section and another roof section, until we have the desired full width. This configuration is made with the BHR02 (BHR stands for British Historical Roof by the way). This is the only mould you actually need, however we do have a BHR01 as well as that one comprises of 2 extra sections and joints, so if you have a lot to build you may want both moulds to make the jab easier by making up lots of these as you may need them for other builds in the range, but that's your choice of course. if you are on a budget, you only need the BHR02 remember. |
|
To conclude we have only scratched the surface here and if you take a look at the left image (You can click to enlarge). you can see you could make this more stories in height. So, this example shows how we incorporated the double door and a few more sections and the best part is you already have these parts in the moulds you just used to make the single story building. all you need would be the BH04 for the base side sections and you could go as many floors high as you like.
|
BHR01 - Extra Panels if needed
|
BHR02 Main Sections
|
Project 2 - The brick tower
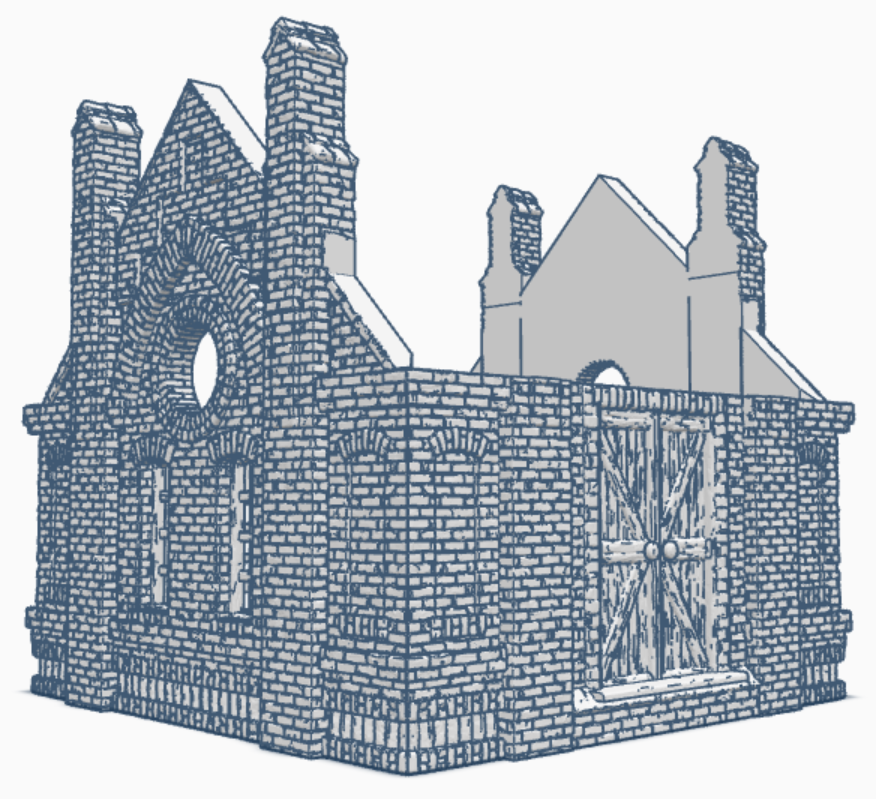
This project may not look like a tower, but as we progress you will see many options to add floors and variations to the building options
|
To start this project we will show each side and offer a description of the mould that was used at each section. then we will complete by listing the moulds used for the whole build.
You will find that many moulds are repeatedly used and as you progress through the many pages of these projects, it will be evident that we are using the same moulds over and over. showing you the versatility of having a good collection and how it will expand the possibilities. So lets get started with this first base model and then we will progress by adding much more. Also don't forget you can add more sections to the width or change the order of sections such as doors, windows and styles. |
|
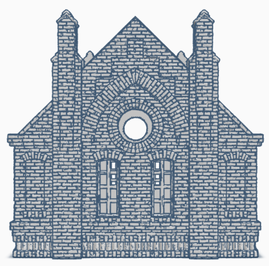
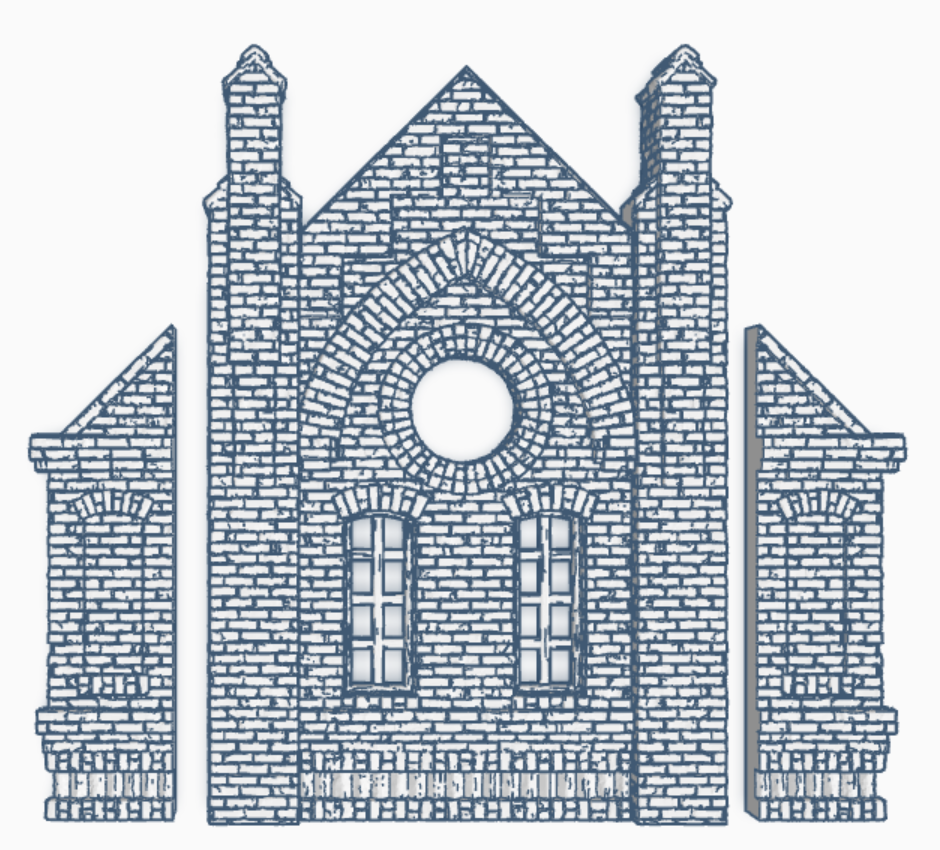
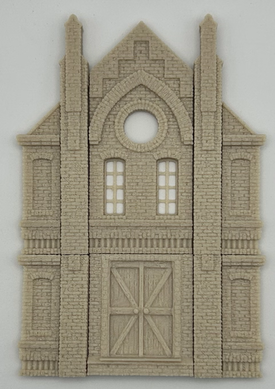
Showing the parts here, we are using 2 x the main section (Left Photo). We will use 1 for the front and one for the back.
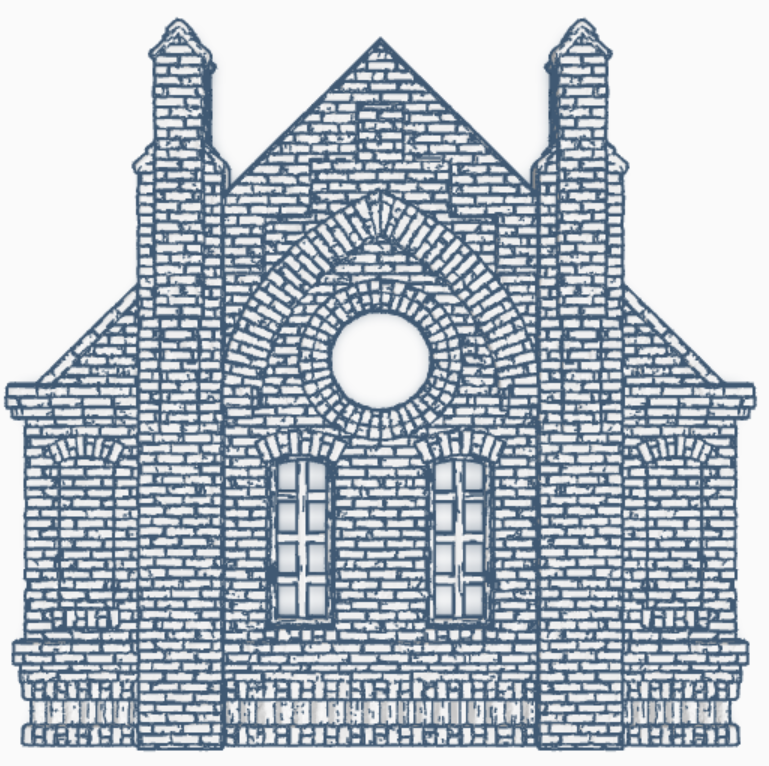
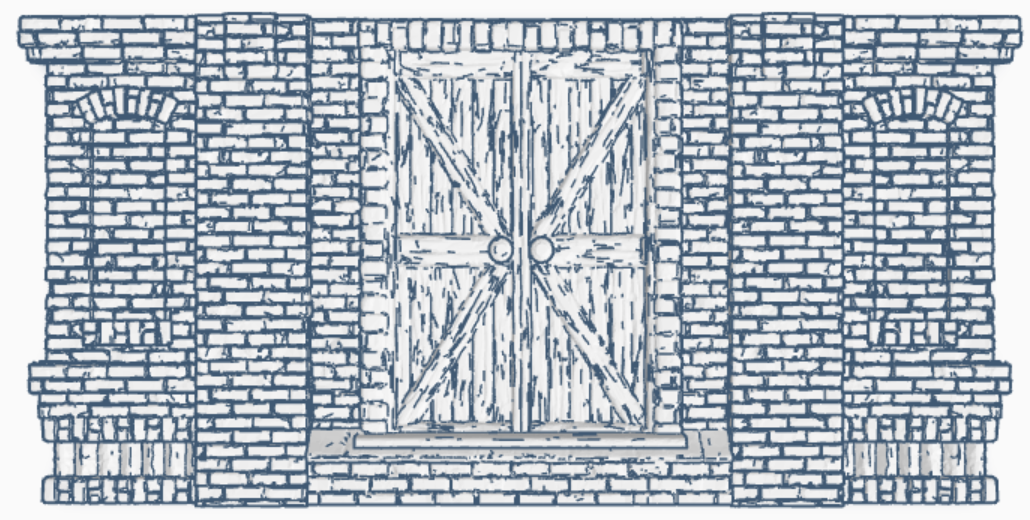
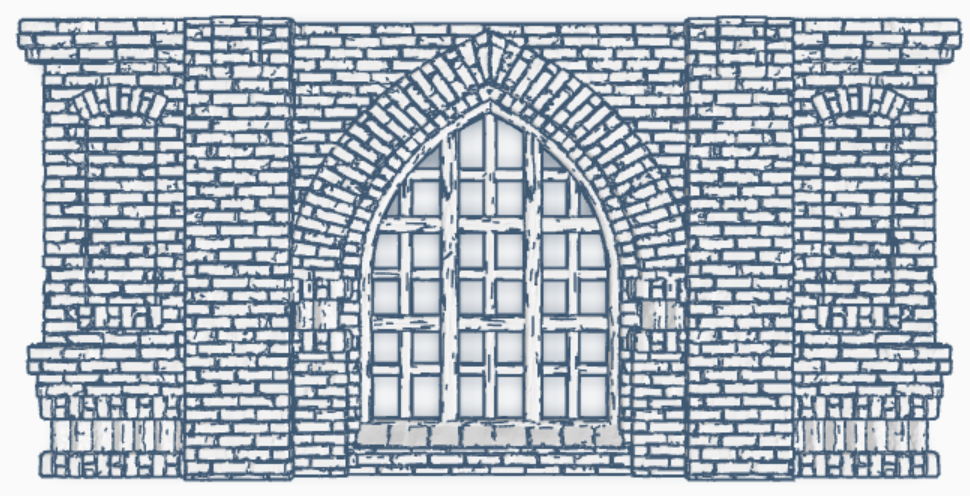
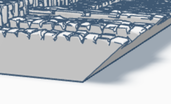
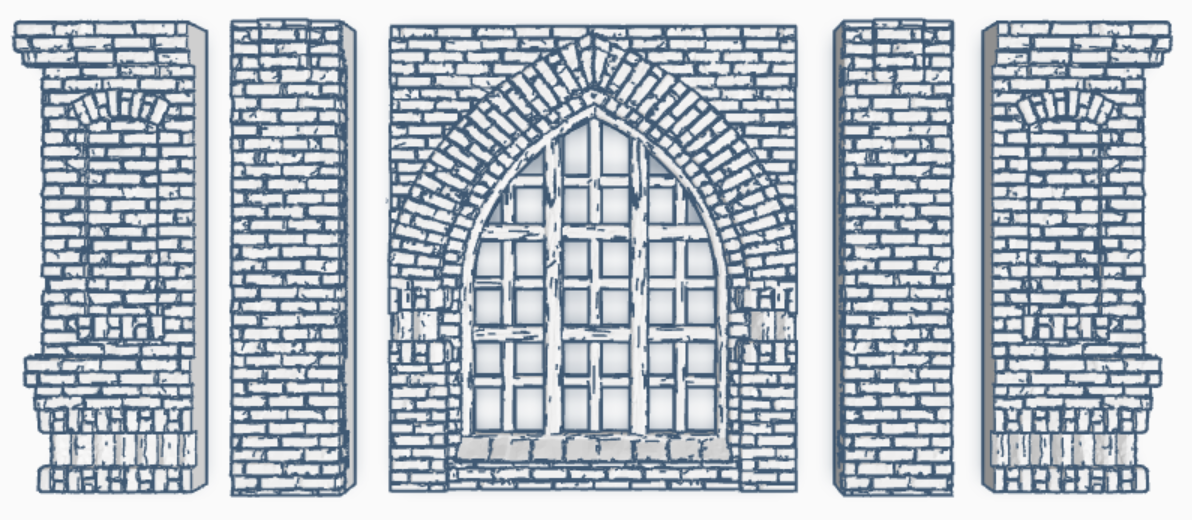
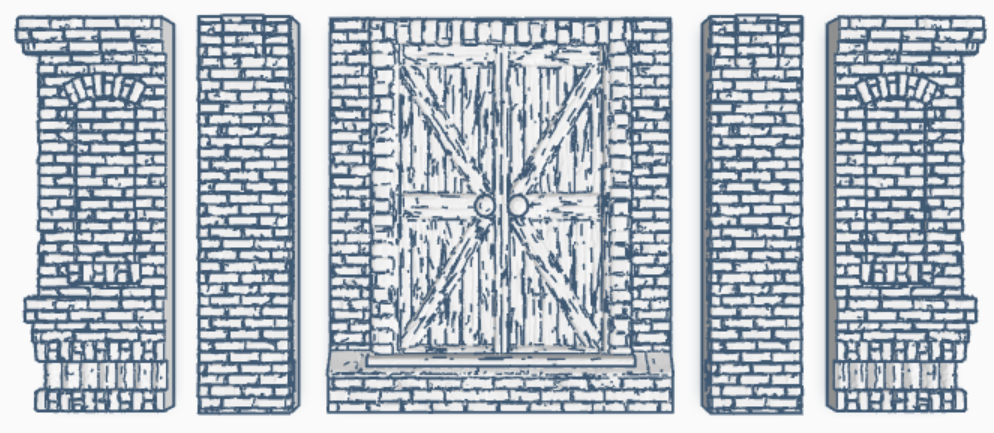
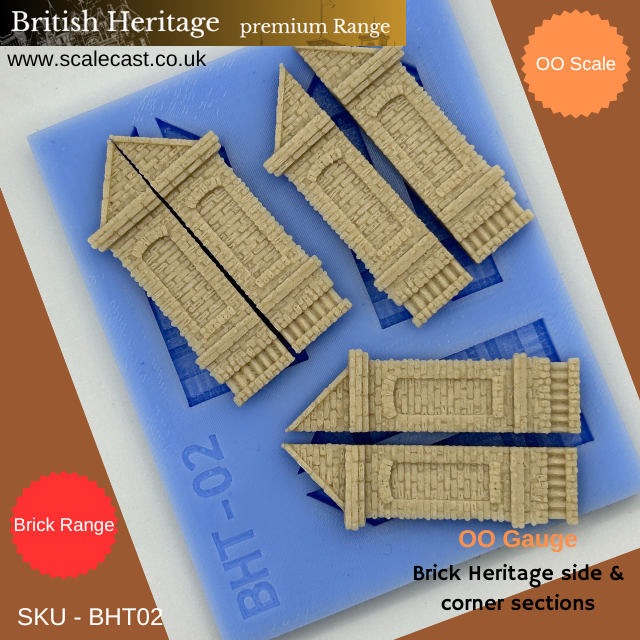
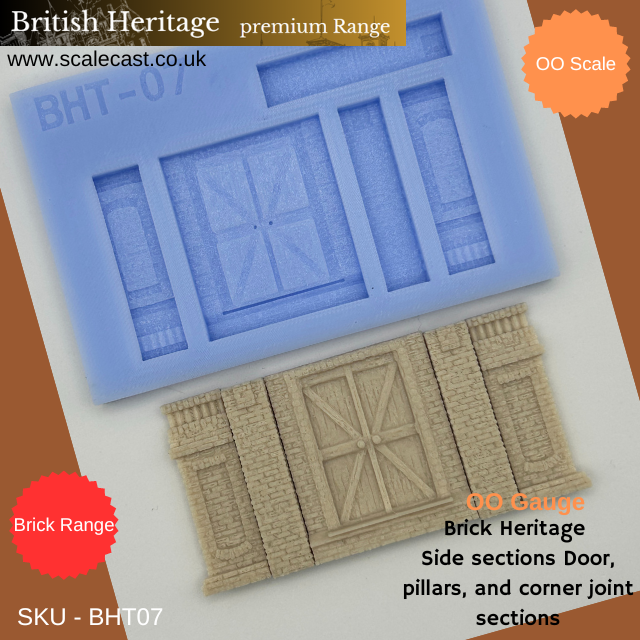
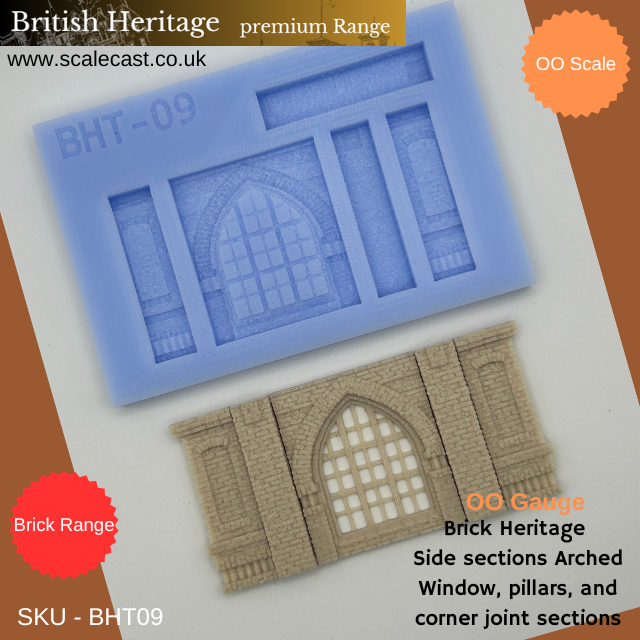
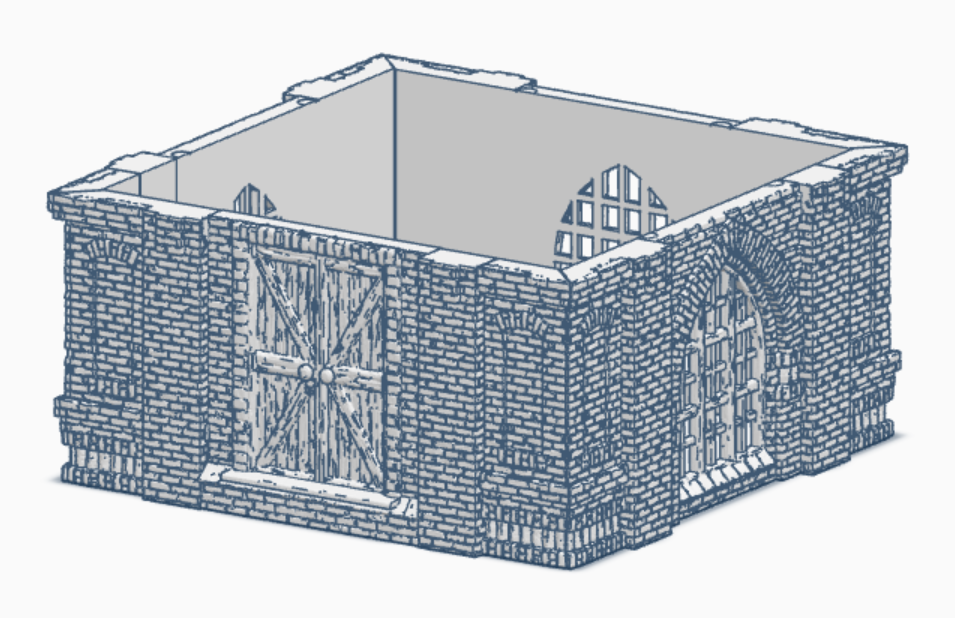
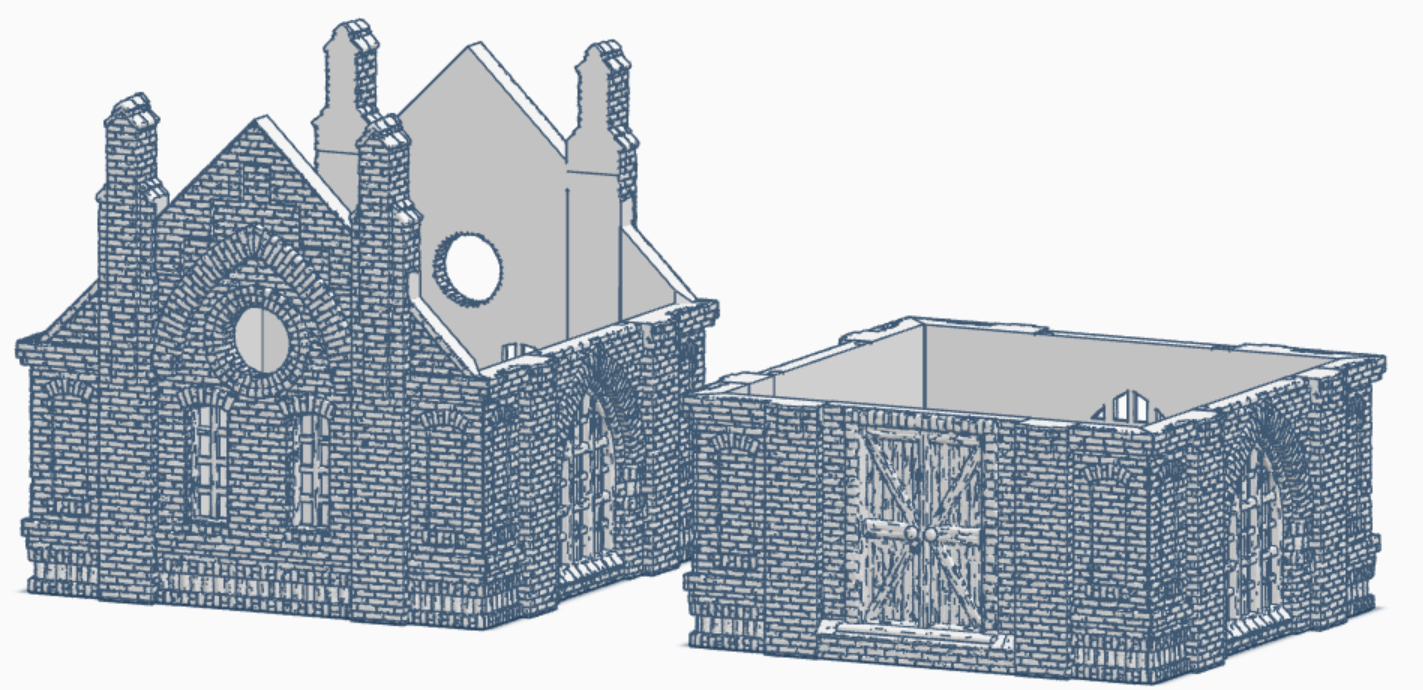
Then we will make up the 2 sides of the building, one with a door and another with an arch style window. Note that the end corner sections are cut at 45 degrees, this is to allow bonding the parts and ensures the joint is in the corners. Below showing the angles of the corners |
In reality this is all you need to make the building shown at the top of the project. and we will cover roofs in a special section, as we sell full roof moulds and you will need to cast sheets of roofing to finish the top of your building.
Next we will show how each of the side sections are actually made up and show how you can easily extend this build for the set of moulds also shown below.
Next we will show how each of the side sections are actually made up and show how you can easily extend this build for the set of moulds also shown below.
|
The moulds produce the section as shown in these images, so, it can also be seen you can add another component such as another door or window and another pillar and so on to make and width you like, as shown below.
Also you could add doors and windows on the same side as all centre sections are fully interchangeable.
The possibilities are endless |
Here are the moulds used in this build so far
So for this build, we are using just 4 moulds, which you can cast as many times as you want, to create more floor sections or make larger floor plans.
Adding Height with additional floors
|
Putting it all together
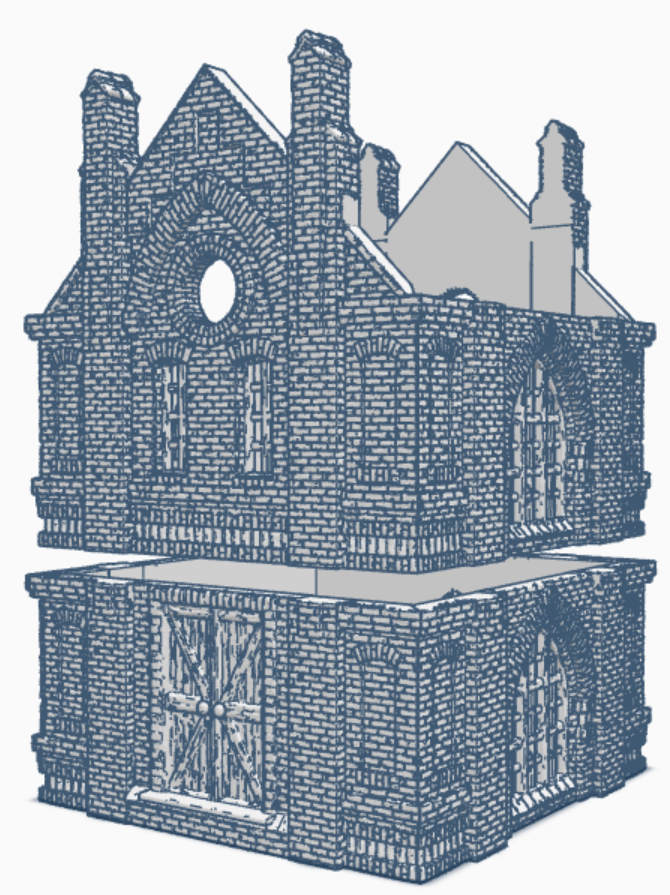
As you can see in these images, you can just build different floor sections and stack them.
We suggest that you layout all your parts to give you a great perspective on what your finished building will look like. You will be amazed if you make lots of parts and then just shuffle them on a table, just how many variations can be achieved. In this layout we have kept things simple, even so, these look absolutely beautiful. Again using (BHT09) you could even add a third floor of arched windows on all sides or take a look at the others we have in the range to mix it all up a bit. |
All that remains now is to add a roof. We have several roof in our range, So again, you can either use the ones we designed for this build (BHR) range or any of our other roof sheets we have in the shop.

